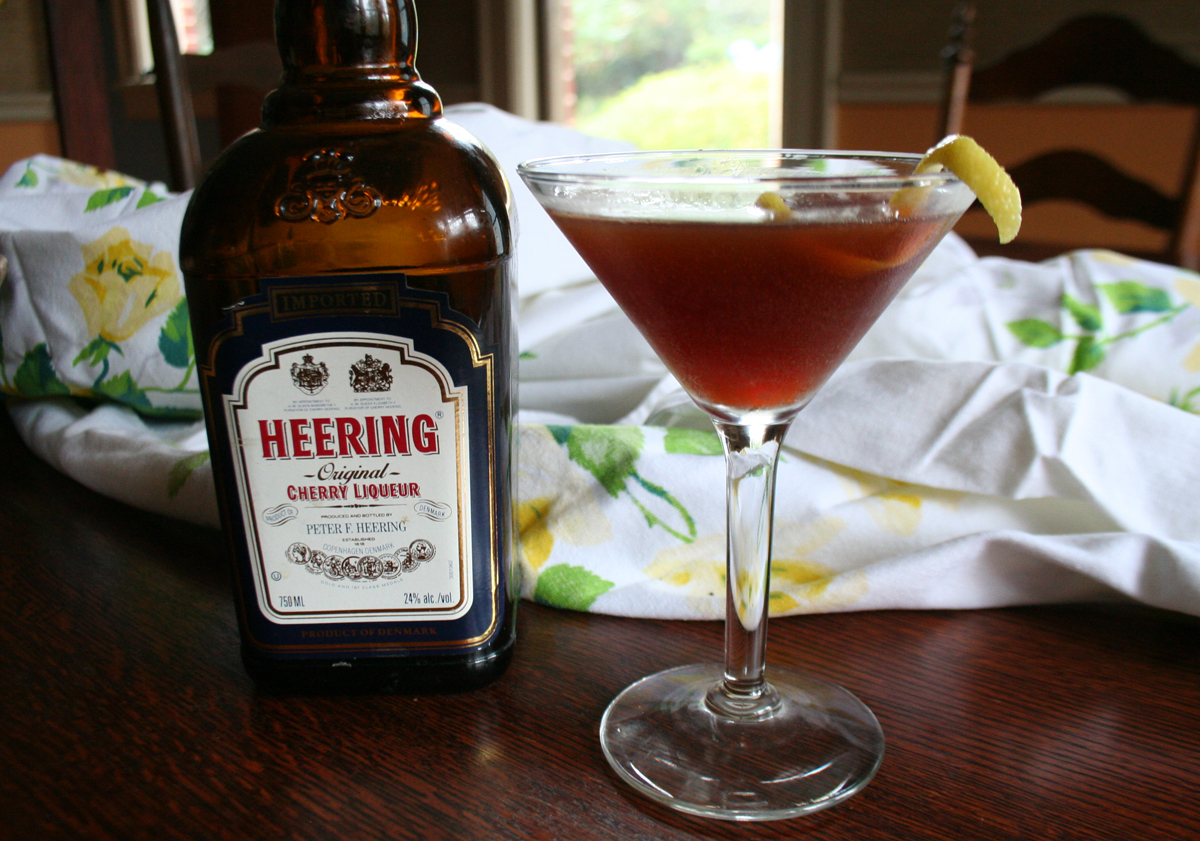
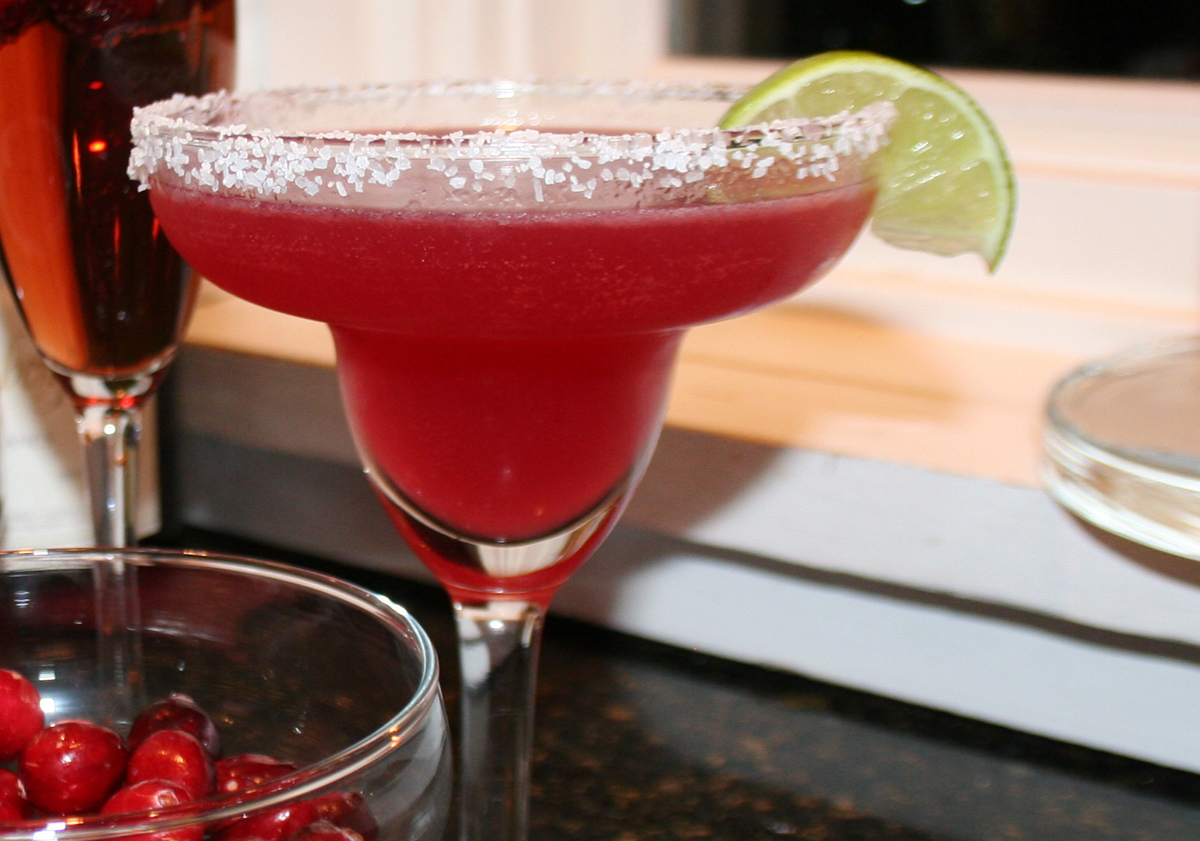
The holidays approach and it's time to bring out the festive and the beautiful cocktails. First up is he Gilroy Cocktail. It is one of those delicious and pretty cocktails that everyone at the party enjoys. The Gilroy Cocktail has one ingredient that gives it a deep ruby color and it's signature cherry flavor - Cherry Heering.
Making Lard at Home
What’s wrong with lard? Nothing. That’s why you should be making lard at home.
In the 60’s & 70’s, everyone knew that butter and lard were full of saturated fats and cholesterol and if you cooked with them, you were just handing out heart attacks on a plate. My Southern mother, being the progressive person that she was, always cooked with Crisco or margarine. Why? Because science told her it was healthy! To us, lard was a bad word, connoting greasy, porky, fatty food. I’m sure the ghosts of our Southern great-grandmothers were collectively rolling their eyes at this. Why? Because as it turns out, switching out manufactured shortenings and fats for natural fats was a huge mistake. It turns out lard is a healthful fat!
How healthful? Lard contains less saturated fat than butter, is mostly a mono-saturated fat (the good kind of fat), has no trans fats and has a high smoke point, making it ideal for frying. If it is naturally rendered, it is free of artificial colorings, flavoring or additives. It is also has an incomparable taste in a pie crust or a tamale. It’s really no wonder that chefs have rediscovered cooking with lard as a return to natural whole foods.
Finding Real Lard
At one point, after I’d read numerous articles on how great real lard was, I was convinced that I needed to find some. But, guess what. Real lard is not easily found. Most supermarkets will carry a hydrogenated version, which makes it as bad for you as Crisco. No thanks. My dependable local farmer’s market didn’t even have it. I had my motivation for making lard at home.
I toyed with the idea of rendering lard myself, but I wasn’t sure where to source good pig fat. And the difference between which pig fat to use for lard is another whole story. Evidently, you don’t want to use just any old pork fat trimmings. Only leaf or back fat will do.
Finally, I found natural organic lard at Whole Foods, where they sold it frozen in a 1-gallon tub. My friend Casie was willing to split that huge amount with me, so that worked out great. I kept my lard in the freezer and pulled it out whenever I made piecrusts or biscuits. It was like my secret pastry weapon. When I finally ran out of my precious lard stash, I discovered that Whole Foods no longer carried it. Gah! Back to zero.

A couple of weeks ago, I heard that a local butcher, The Spotted Trotter, sold their own rendered lard. Yay! However, when I ran over to buy some, I was told that the chef was behind on his rendering schedule and that they had no lard to sell. So, then… how about the pork fat that you use to render lard? Could you sell me that? Indeed they could! I walked out of there with a bag full of natural, locally-produced pork fat. I was in business again.
Rendering my own Lard
My grandmother had tales of smokehouses in the backyard, but I’m at least two, probably three generations away from anything resembling lard rendering in my family. I’m sure my Tennessee and North Carolina Scots-Irish kinsmen were adept at it, but they aren’t around to help me out now. But, thankfully, Google and the internet stepped in with a lot of guidance.

Rendering is just another way of saying “melting the fat”. This has to be done slowly, at a fairly low temperature, so that you don’t scorch it. When the fat melts down, you will be left with bits of browned fat, known as cracklings. All the methods I read about all seemed to fall into two different categories – dry rendering and wet rendering. No matter which method you use, you want to start by putting your pork fat into the freezer overnight. This freezing makes the fat easier to handle.

When your fat is frozen, you should cut it into small pieces. The fat should be cubed into 1 to ½ inch chunks. You can also run it through a meat grinder for a fine grind.

Wet vs. Dry Rendering
Dry rendering uses a dry heat (like in the inside of an oven) to melt the fat. It is done by roasting your fat in a heavy-bottomed pan, like a roaster, at 300 degrees for 3-4 hours. With the dry method, you should pull out the pan every 30 minutes to check on it and give it a good stir.
Wet rendering uses a bit of water (1/4 cup) in a heavy-bottomed pot on a stovetop for melting the fat down slowly over a low flame. This takes about 45 minutes to an hour, with frequent stirring and a watchful eye. The water evaporates and you are left with just the fat.
With either method, you do not want to go past the point where the lard is smoking or scorched. This is one reason why you may want to work in smaller batches (2 lbs of fat) until you get the hang of it. You know your lard is rendered when the cracklings have stopped floating and have sunk to the bottom.

Since this was my first time rendering lard, I wasn’t sure which method to use. Since I had over 5 lbs. of pork fat to work with, I split up my bounty into two batches – one using the wet method and one using the dry. Following the processes outlined above, I put half of my fat into the roasting pan and into the oven and the other half into my cast-iron fryer on the stovetop. Even though one of these was a “dry” method, I added a bit of water to each, just to make sure that the fat would not stick and burn at the beginning before the fat started to melt.

After 45 minutes of stirring and watching my pot on the stove, my stovetop version had melted down and I was left with an abundance of brown cracklings. The oven version took a lot longer to get to that point – close to 4 hours. With both batches, I scooped out the cracklings, then poured the hot liquid fat through a sieve lined with cheese cloth, to strain out the tiny bits of leftover meat solids.

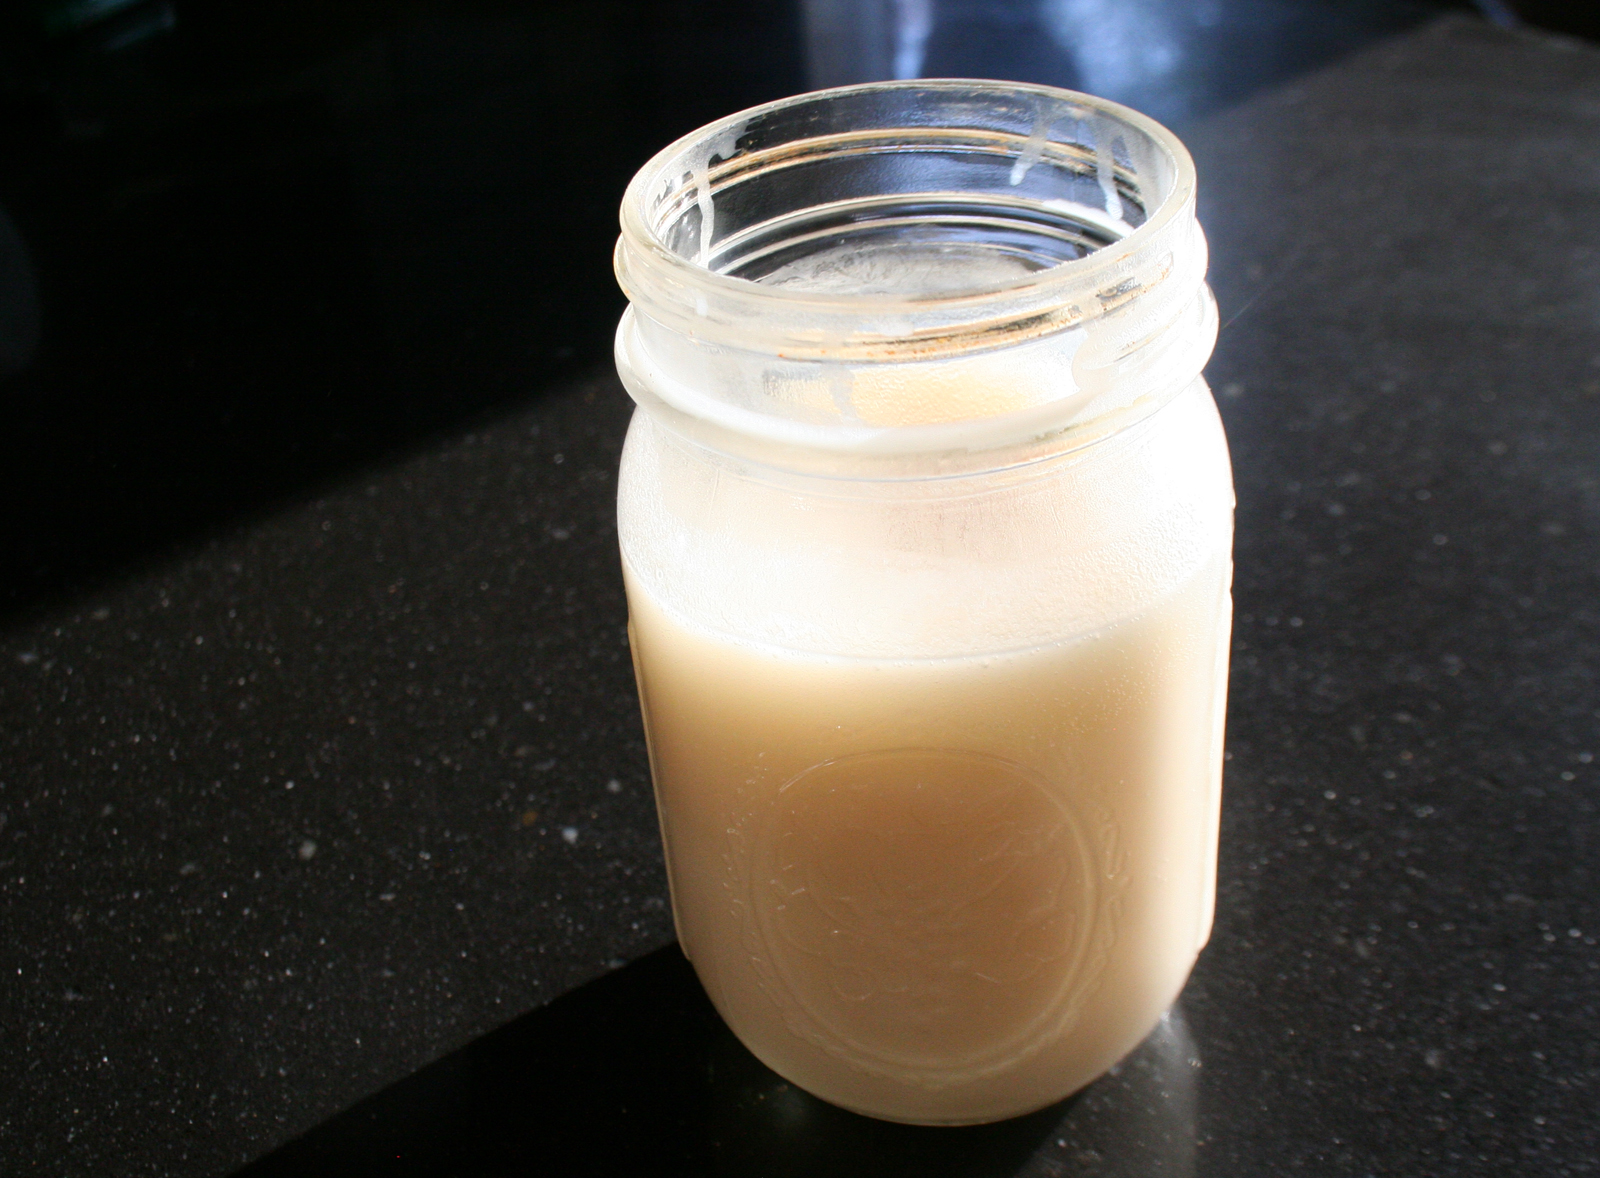
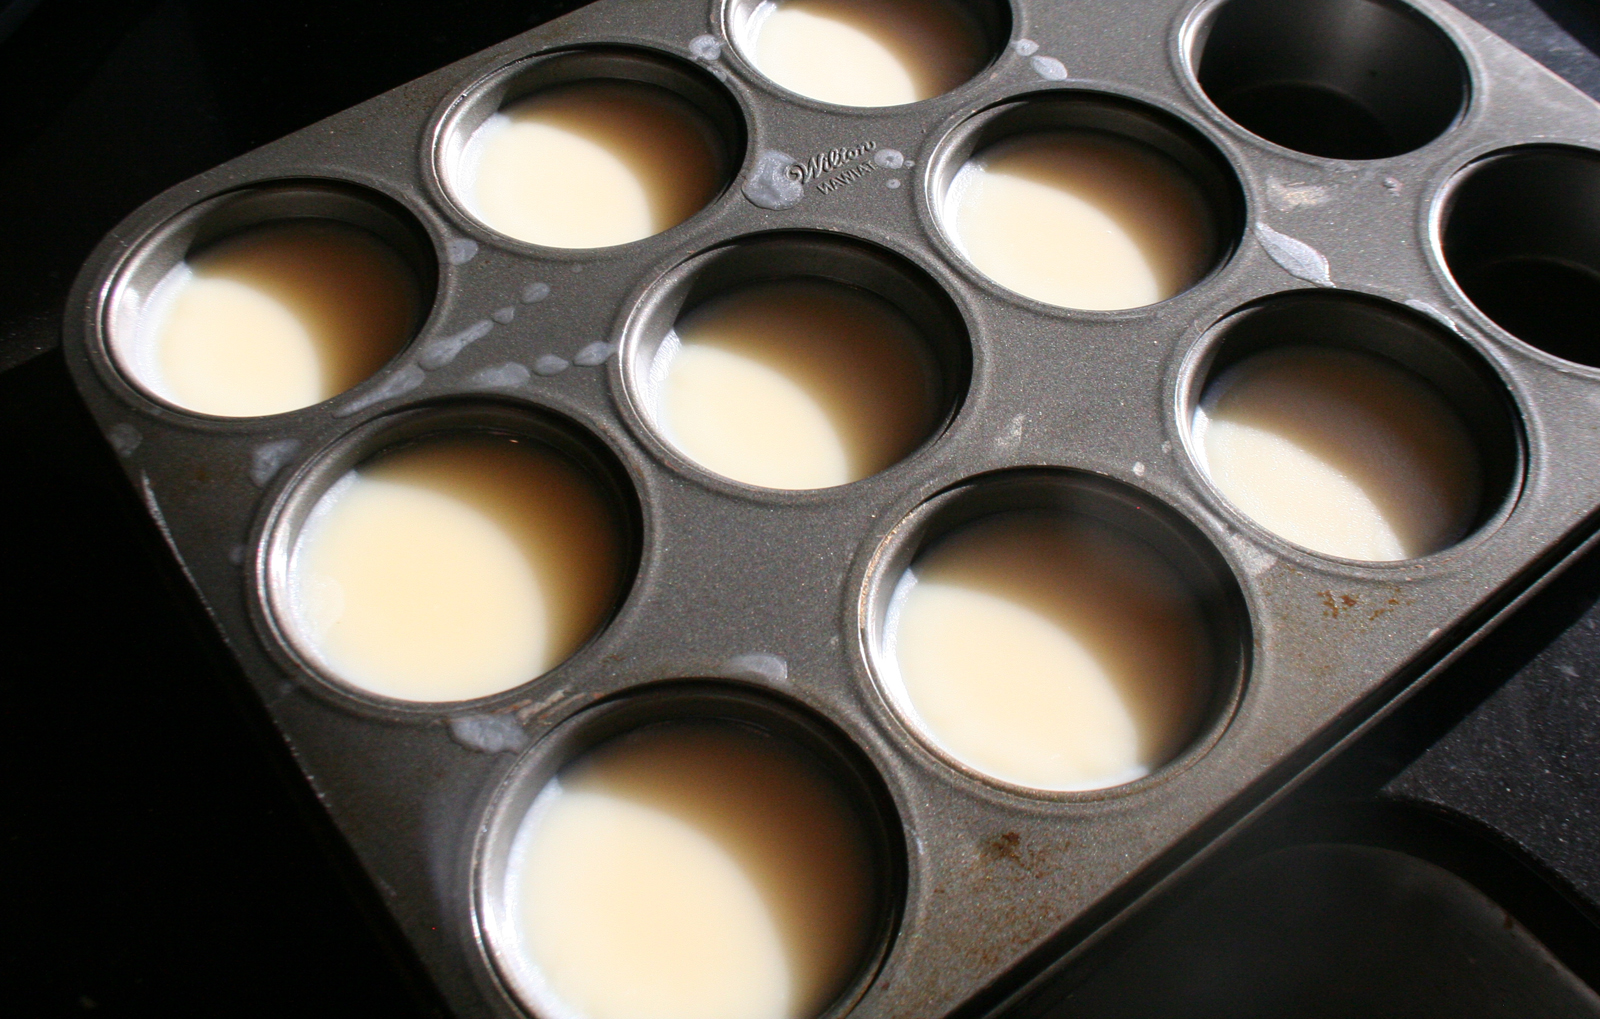
While it was still liquid, I poured it into a clean, sterilized Mason jar and (thank you internet for this idea) a muffin tin. As they cooled to room temperature, they went from a golden liquid to a creamy solid white. I popped them both in the fridge to continue cooling.
Here are the results…
Wet Rendering
Dry Rendering
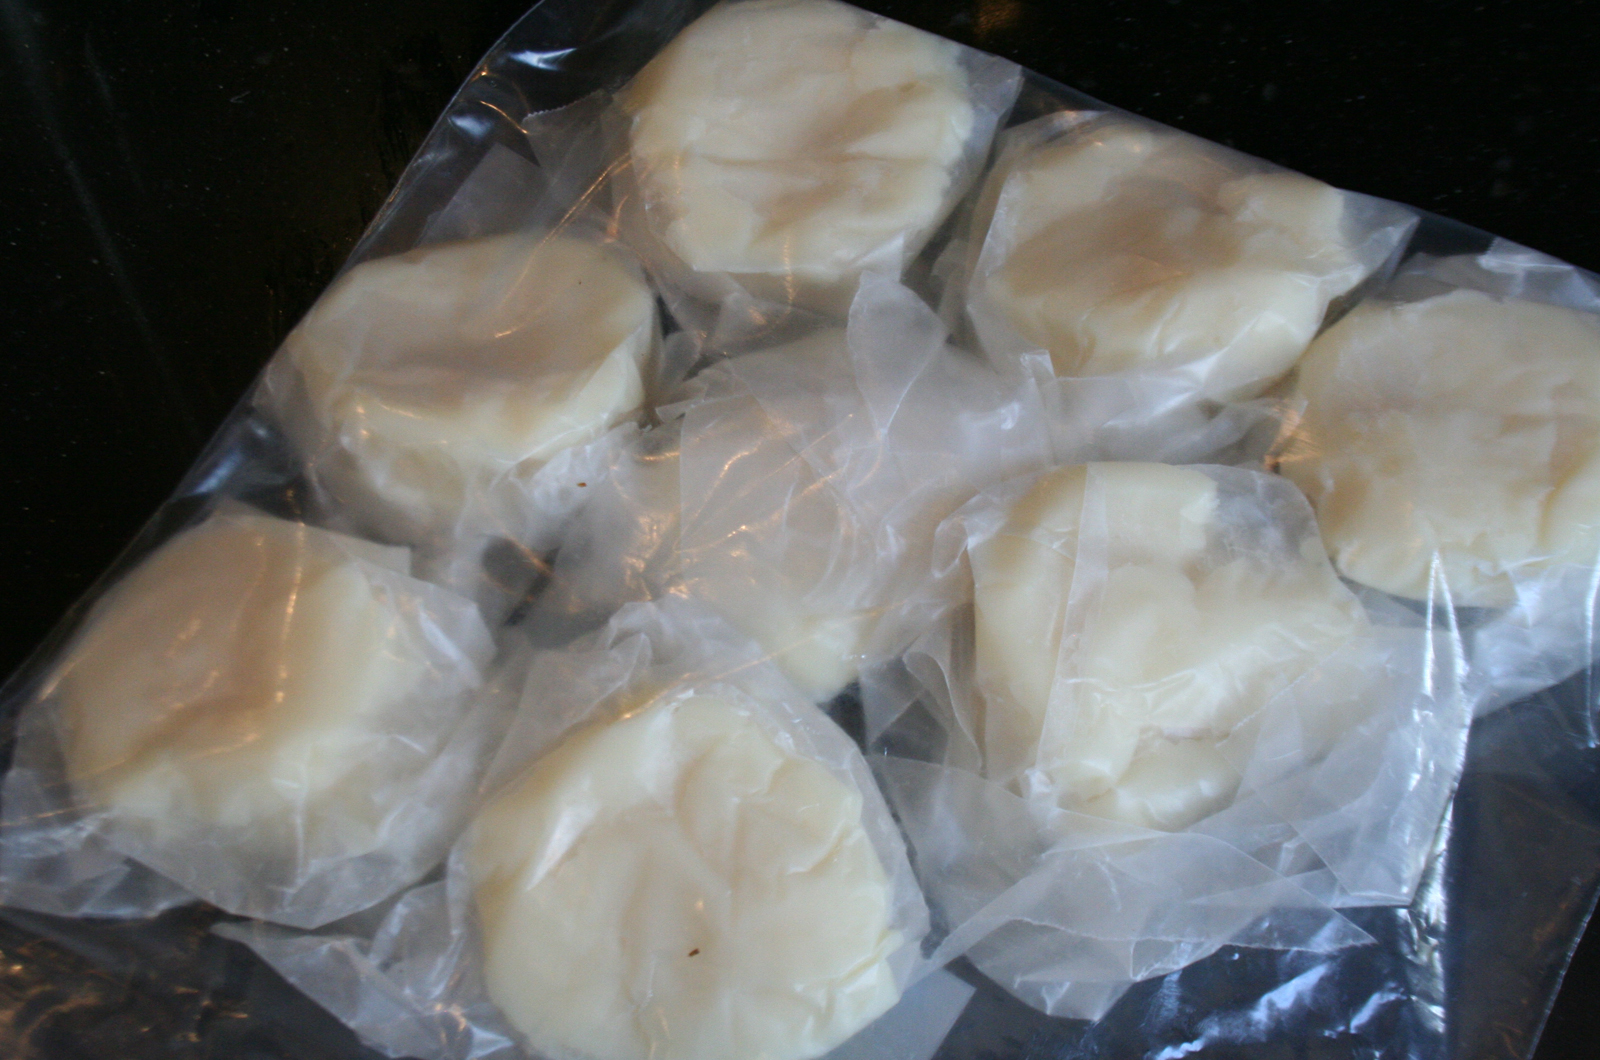
I think that they both turned out better than I imagined. Almost pure white. Neither of them have a heavy pork smell. It looks and tastes just like the lard I bought at Whole Foods. Success!
Home-rendered lard should keep in a tight jar in the fridge for 6 to 9 months. I like to keep lard in the freezer, pre-measured in 2 oz. portions for my piecrust recipe. They will keep in the freezer for over a year.
***Related Posts
This Post Has 4 Comments
Comments are closed.
Oh my gosh….you are amazing! This post makes me want to try this. BTW, did you ever give me the Whole Foods lard? If so, what did I do with it???
Yes, Casie. I know you got your half because I went over to your house to divide it up. I’m guessing that you used it all up making pie crusts.
Thank you for this. I like the idea of rendering my own lard.
[…] Stephanie on Making Real Lard at Home […]