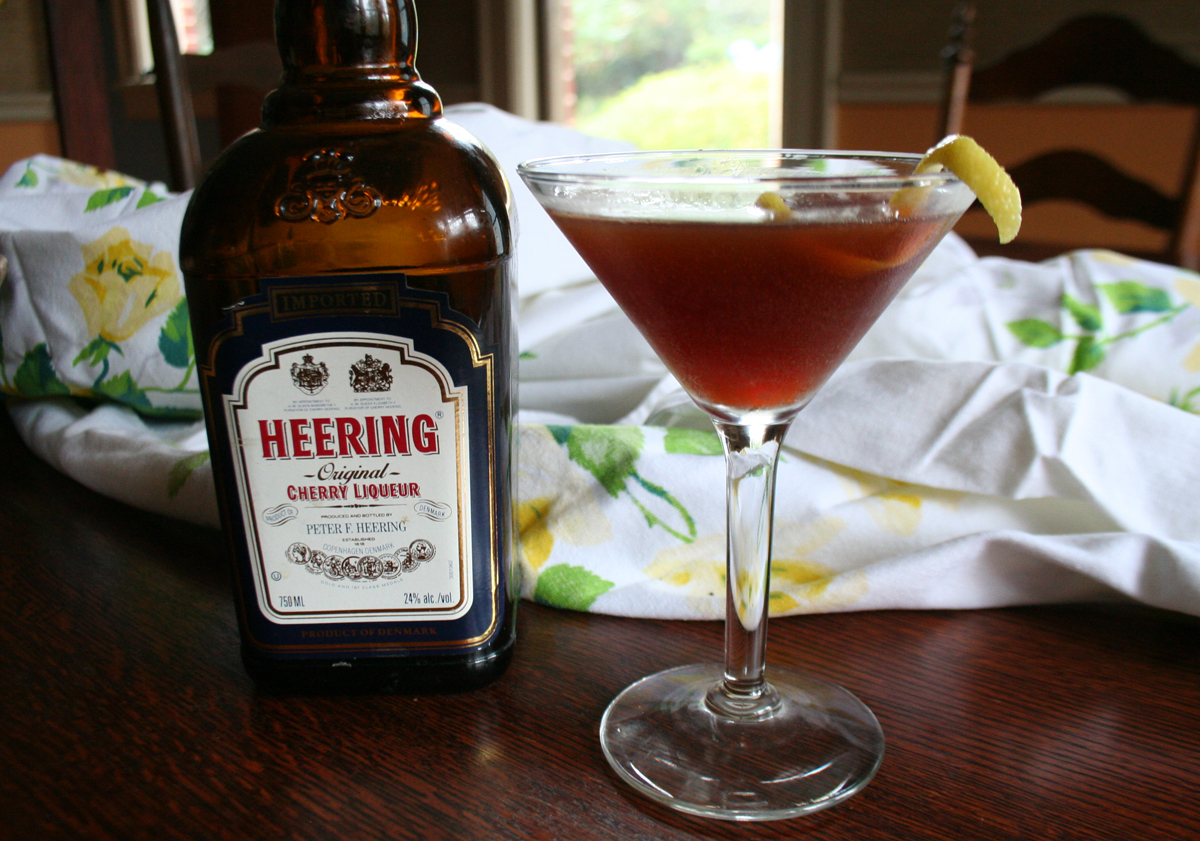
The holidays approach and it's time to bring out the festive and the beautiful cocktails. First up is he Gilroy Cocktail. It is one of those delicious and pretty cocktails that everyone at the party enjoys. The Gilroy Cocktail has one ingredient that gives it a deep ruby color and it's signature cherry flavor - Cherry Heering.
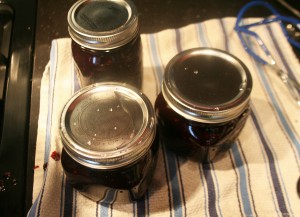
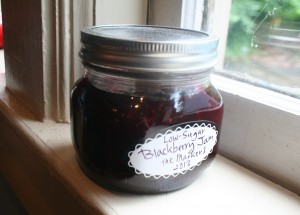
Low Sugar Blackberry Jam
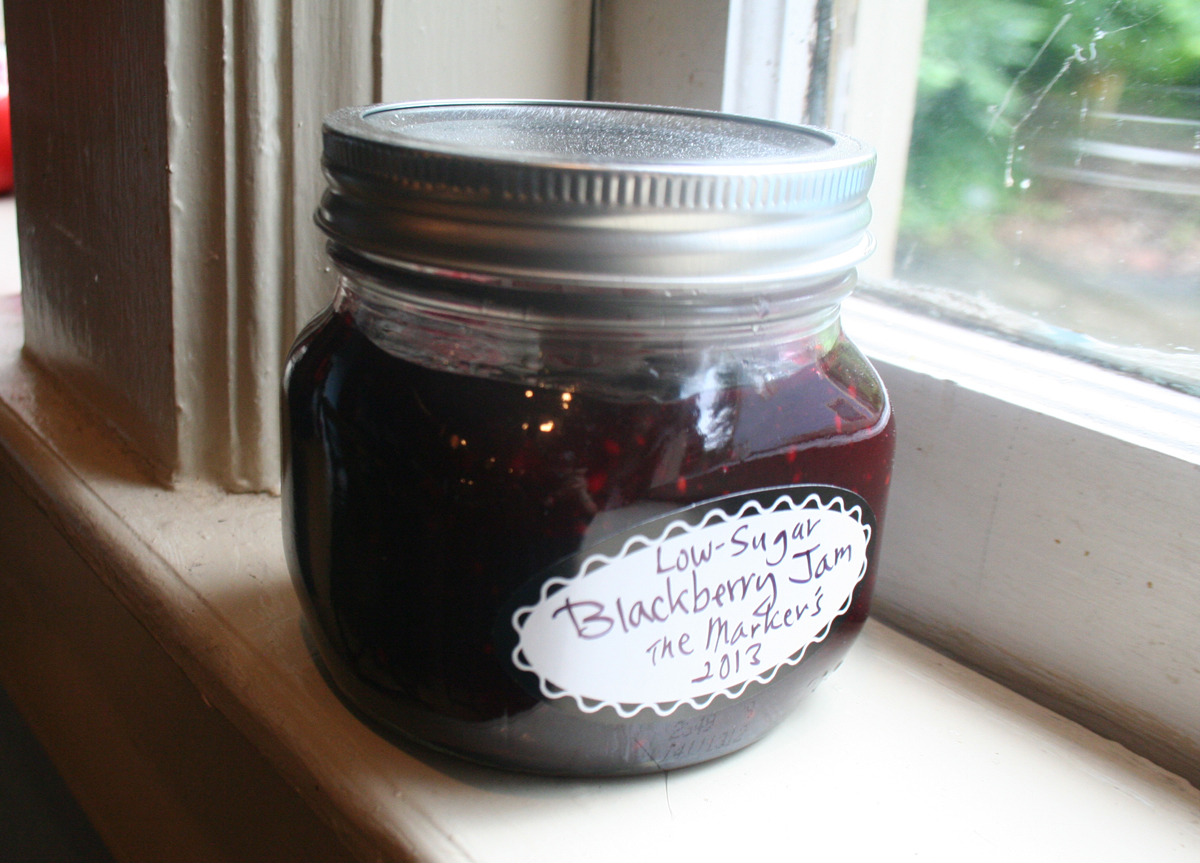
My family loves blackberry season. We can’t wait for the blackberries to come in every July so we can start our month-long ritual of berry picking and blackberry jam and cobbler-making. After three bug-bit, thorn-scratched excursions this weekend, we have already picked two gallons of wild blackberries. It’s not really a problem, but the berries are starting to get backed up in my fridge. It’s time to get serious about jam making. So, this week, I’m pulling my canning jars out of the closet and I’ll put up my first batch of low sugar blackberry jam for the summer.
Urban Foraging for Blackberries in Atlanta
Six miles west of us, Downtown Atlanta has the tall buildings and concrete. But here in Decatur, we have tree-lined streets and patches of jungle that spring up in empty spaces. Just on the outskirts of Decatur, you begin to see more and more neglected properties, overgrown with vegetation. If you look close enough, you’ll see wild blackberry canes beside abandoned buildings and along railroad easements. Every summer we hop on our bikes and go looking for new spots to pick berries. Our picking spots change every year because people see blackberry thickets as “weeds” and mow them down from time to time. What is wrong with these people?
Maybe it’s because I grew up in the country, but I find it the most natural thing in the world to go look for wild berries in the summer. There is just something really cool about finding free food. According to “lifestyle” articles I’ve read, this is a hipster trend called Urban Foraging, where city dwellers go and collect neglected fruit and vegetables from abandoned or public properties. Someone has even a made a website for urban foragers that maps out local spots to find food to collect and harvest – FallingFruit.org. I hate to think of myself as a hipster. I just know that this is something I’ve done my whole life and I really want those blackberries for cobbler.
A lot of people ask us where our hidden patches of blackberries are, but we don’t like to tell anyone. We don’t want our spots to get overpicked and we’re greedy, I guess. We probably shouldn’t be so secretive, considering most people don’t really want to go to all the trouble. Friends that know about our picking spots usually give up on berry picking after one hot Atlanta July day braving snakes, fire ants, mosquitoes and thorny blackberry canes. There is a lot of blood, sweat and tears involved in foraging for blackberries. But, to the strong belongs the spoils.

Step-by-Step Instructions for making Low Sugar Blackberry Jam
Making jam at home is pretty easy and it’s a great way to use up all those lovely berries and preserve them for the winter. Do I need to say that jars of homemade jam make great Christmas gifts? Do I need to say that friends and neighbors love when you come over with a jar of jam? Of course not! You know it’s good. You just need an afternoon and some fresh berries to do this.
This is a step-by-step guide for making low sugar blackberry jam, but it can easily be adapted to any low sugar fruit jam. You do not want to double this recipe. Jam should be made in small batches, so that the pectin will be certain to set. I always make low sugar jams because I was appalled at how much sugar went into a standard recipe. Low sugar blackberry jam uses only half the sugar of a standard recipe and the taste is more about the fruit, not the sugar.
This recipe is modified from the original how-to recipe that I found several years ago online at PickYourOwn.org. The site is still up and has lots of great canning and preserving tips. I’ve used this method so many times and the jam comes out perfect every time.


Low Sugar Blackberry Jam
A step-by-step recipe to make low-sugar Blackberry Jam. We find our blackberries by being urban foragers - finding berries in the city.
Equipment
- 3+ Pint canning jars (or 6-7 of the smaller 8 oz. jars)
- New, unused canning lids
- 1 Large heavy-bottomed pot
- 1 Large canning pot – wide and deep enough to hold 4 or 5 pint jars, covered in water
- 1 Food mill
- Measuring cups
- 1 Wooden spoon
- 1 Ladle
- 1 Jar funnel Optional
- 1 Jar tongs Optional
Ingredients
- 9 cups Fresh blackberries, to make 6 cups of berry pulp
- 4 cups Sugar
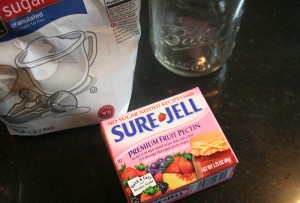
- 1 box Fruit Pectin for Less or No Sugar recipes
- 1 tsp Butter
Instructions
- Wash your fruit - Put all your fruit into a colander and give them a good rinse. Let them drain to dry.
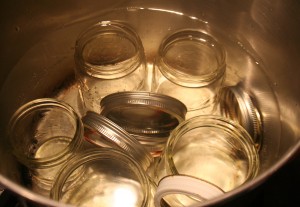
- Sterilize jars and lids - Place clean jars in a large canning pot. The jars need to be completely filled and immersed with water. Toss in the lids and lid rings, as well. Bring the water in the pot to a boil. Let the water boil for 10 minutes to sterilize. Turn the water off and let the jars and lids sit in the hot water until you are ready to fill them with jam.
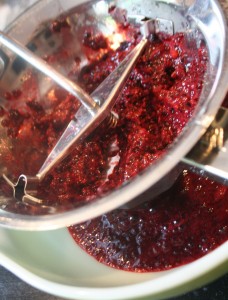
3. Separate the seeds from the berry pulp
- While the jars are sterilizing, remove the seeds from your blackberries by running them through a food mill. Not everyone does this, but I do not like a lot of seeds in my blackberry jam. This is, without a doubt, the most time-consuming step of blackberry jam making. If you want to skip it, just know that you’ll have a lot of little seeds in your jam. You might also do jam with half pulp/half whole berries. That is less work and you’ll keep some of the whole berry texture in the jam. You are starting with 9 cups of fresh berries, but after you separate the seeds, you will only have about 6 cups of pulp left. You need 6 cups total of the blackberry pulp to make this recipe.
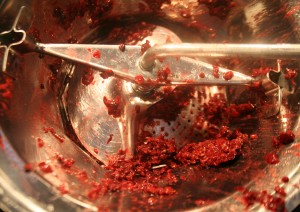
- When you run the blackberries through the food mill, you will probably need to do it in 3 batches, three cups of berries at a time. When you process a couple of cups of berries, you will quickly push all the juice and pulp out and be left with a lot of blackberry seeds, which clog up the food mill. When you’re left with mostly seeds, stop and clean it out before starting another batch.
4. Measure your sugar
- In a medium mixing bowl, measure out your 4 cups of sugar. If you were using a standard recipe for jam, you would need 7 or 8 cups of sugar, but by using the Less or No Sugar Pectin, you can reduce your sugar by half. I’ve never used artificial sweetener or tried to make a No Sugar jam. but Sure Jell (the pectin producer) has plenty of information online on how best to do that – Sure Jell website. In a smaller bowl, take a 1/2 cup of the sugar and mix it with the entire box of the low sugar pectin. This is just to make the pectin easier to stir into the berry pulp.
5. Cooking the pulp
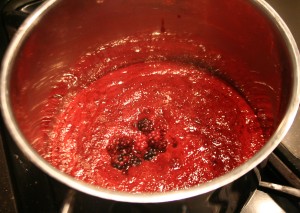
- Mix the blackberry pulp and the pectin in a heavy-bottomed pot. Cook on medium heat, stirring occasionally. Add a teaspoon of butter to keep the foam from forming on the surface while it cooks. Bring to a full boil, which should take about 10 minutes.
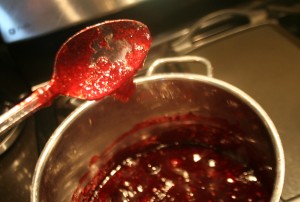
- Add the remaining sugar. MIx and bring back up to a full boil. Boil for a full minute. Remove from the heat. The jam should be thick enough to coat the back of a spoon.
6. Remove your jars and lids from the water
- While the jam is cooling a little bit, you should remove and empty the canning jars and lids from their sterilization bath and place them on the counter, on a clean towel to dry and wait for the jam. Because the water and the jars are very hot from their bath, use jar tongs to remove them from the water. The water left in the hot jars should evaporate quickly.Keep the hot water in the pot. You will use this in a few minutes to process the filled jars.

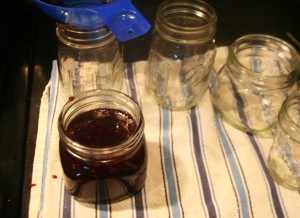
7. fill the jam jars
- Have your canning jars lined up, with the clean lids dry and ready to go, beside your pot of finished jam. The jam will still be very hot at this stage, so be very careful handling it. You do not want to get burned by molten jam!In turns, place a jar funnel in the mouth of each jar. Use a ladle to transfer the hot jam and pour it through the funnel into the jars. Leave at least a 1/2 inch of space to the top of the jar. When all the jars are filled, wipe off any drips along the rim and threads with a clean, damp paper towel to ensure a tight seal. Then place a clean lid on each jar, making sure it is seated properly. Secure the lids snuggly (but not too tightly) with the lid rings. One note: never re-use a lid from a previous batch of jam. The rubber seal will only work once, then it is to be thrown away after the jar is empty.
8. Process in a hot water bath
- In order to kill off any bacteria that might be in your jars, you will need to process your canned jam to ensure that it can be safely stored at room temperature for up to a year.Using your jar tongs (or oven mitts), place the covered jars back into the same hot water bath that you used to sterilize them earlier. Make sure that the lids are on tightly first. The jars need to be completely immersed in water and have at least an inch of water above them to process.Bring the water in the hot bath back up to a rolling boil, then boil the filled jam jars for 10 minutes. Don’t go longer than that. Remove the jam jars from the hot water bath and place on a rack or towel to cool.As the jam cools, you will hear the “snap” of the lids sealing as they contract. You will see the lids pop down after this happens. If you don’t hear the snap or see the lid pop down, then it did not seal properly. This isn’t a big problem. It just means that jar has to be refrigerated for storage.
9. Store & eat your Low Sugar Blackberry Jam!
- After your jam has cooled to room temperature, it is ready to eat. A sealed, unopened jar of jam will keep for about a year in the pantry. Once you’ve opened the jar, you’ll need to store it in the fridge.Enjoy!
Tried this recipe?Let us know how it was!
***
Related Posts
This Post Has 0 Comments